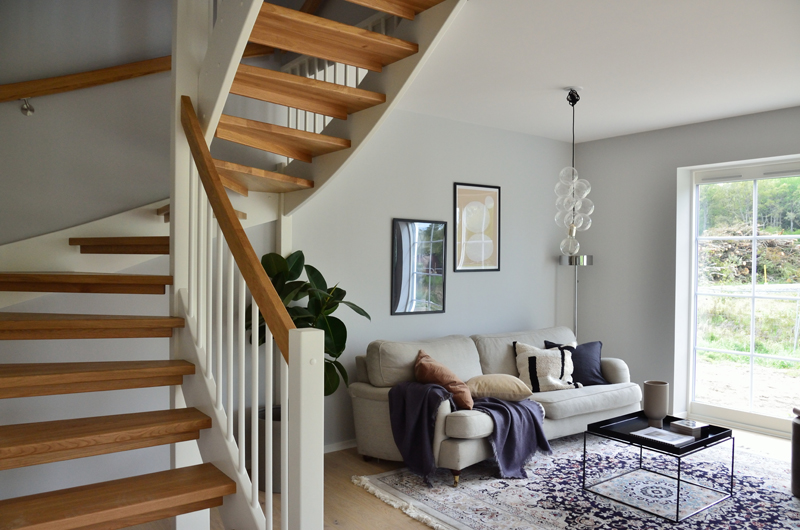
Now is the time to start thinking about decorating your home. The weather is becoming…
Touching up interior paintwork
Advice on running repairs
Like it or not, interior paintwork is going to suffer minor scuffs and knocks.
We always leave clients with unfinished paint cans for running repairs, but there are some useful tips which can make your DIY touchups blend in to the rest of the paint on a wall.
Step 1: Before making repairs, clean the area with a sponge, mild detergent and water. This will not only help colours to match but will also improve the fresh paint to adhere to the old surface. Avoid any hard scrubbing though, as this can leave a shiny surface. Dry the cleaned area with a clean towel before moving on.
Step 2: Smooth away any flaky paint with sandpaper. Start with coarse grade sandpaper wrapped around a small block of wood, and finish with fine grade sandpaper. It is best done by hand – if the damage is too severe to remove by hand with moderate pressure, the repair is probably outside the scope of a minor touch-up.
Step 3: Filler is used next to fill in the dents, small holes (nail holes, etc.) and deeper scratches. Ready-mixed filler works well and is easier than mixing from paste. Scoop up a small amount with the edge of a putty knife. Put the compound-covered blade of the putty knife at a 45-degree angle to the wall and spread the compound over the hole or crack in a smooth, feathering motion, until the hole is completely filled in. Scrape away excess compound from the wall with your putty knife with the blade at a 90-degree angle to the wall. Wipe any remaining excess with a damp cloth before it sets. It will take a few hours for the patch to properly set.
Step 4: Let the filler dry fully, then smooth off the area. Use a fine grade sandpaper wrapped around a flat wooden block.
Step 5: Prime the repaired areas with a slightly thinned coat of your chosen paint for proper paint adhesion. Without primer, the touched-up spot will stand out from the rest of the painted surface. Use a small or medium-sized paintbrush to apply a thin layer of primer over the spot and lightly feather just beyond the repaired area. Avoid cheap brushes as they can cause more problems than they solve – good decorators always insist on high-quality brushes for a reason.
Step 6: If you don’t have any of the original paint left, ask the decorator for the paint brand, and colour or reference number. They should be able to tell you exactly. Computer colour matching is a much less favoured option. Apply the paint with the same type of tool that was originally used – if it was done by roller, use a roller again (a small-sized roller offers better control). Use as little paint as possible and apply small amounts at a time. When using a brush, “feather” the edges, beginning at the inside of the touch-up, moving out toward the edges. For touch-ups of small holes or marks (less than an inch), you can use an angled foam brush to lightly dab paint on the spot.
Step 7: Let the paint dry completely for the time recommended by the paint manufacturer. Then check to see how visible the touch-ups are by looking at the wall at an angle. Check its appearance in both natural and artificial light at different times of the day. If you think too critically, you may always see the touched-up spots, but someone visiting your home may not be able to. So be liberal in your assessment.
When the time comes for a complete re-paint please feel free to call us for advice. We will welcome the chance to offer you our detailed quotation for interior and exterior decorating work in and around London.
For immediate attention call us now on 020 8994 4455.
With best regards
Marlon Bulger
Production Director
Bulger Wicks


